4 min to read
Setting Up Email for Your Handshake Domain
Send and receive mail at you@yourdomain using ShakeTheMail

One of the lesser-known benefits of owning a Handshake domain is that you can use it as a real email address as you@yourdomain with no ICANN intermediary. ShakeTheMail makes this straightforward: it’s an open-source mail server built specifically for Handshake TLDs, handling registration, DNS validation, and full IMAP/SMTP support.
How It Works
- Register an account on ShakeTheMail.net
- Prove domain ownership by adding an MX record pointing to the mail service
- Once validated, send and receive email as
you@yourdomain
Step 1: Register Your Account
Go to shakethemail.net and sign up with:
- Username: your Handshake TLD (e.g.
decentralizers) - Email: a recovery address used only for password resets
- Password: your chosen password
ShakeTheMail verifies your domain exists in the Handshake DNS and generates a unique MX code: a 48-character base32 string you will use to prove ownership. Your account starts inactive until you complete the next step.
Step 2: Add the MX Record
After registration you will receive an MX code. Add it as a DNS record on your Handshake domain:
yourdomain. IN MX 10 <your-mx-code>.shakethemail.net.
For example:
decentralizers. IN MX 10 qq2pqslz7wfq7qjwedrfedwsqaj63zh2q4cmt23k45rf7y4wfch4.shakethemail.net.
Where to add it:
- Namebase: Domain → “Manage DNS” → add an MX record with the values above
- Own nameserver (PowerDNS, BIND, etc.): add the record directly to your zone file
We also recommend adding an SPF record to improve deliverability to ICANN domains:
yourdomain. IN TXT "v=spf1 mx include:shakethemail.net -all"
Step 3: Wait for Validation
A background daemon periodically queries MX records. Once it sees your record pointing to the correct value, your account activates automatically:
- A mailbox is created for your username
- Postfix is configured to route mail to your account
- You receive a welcome email at
yourdomain@shakethemail.net
Validation is usually fast but can take up to 24 hours. Check your status by logging in and visiting the Domains page.
Step 4: Set Up Custom Addresses
Once active, your default address is yourdomain@shakethemail.net. To use a fully custom address like hello@yourdomain:
- Log into Rainloop webmail at
https://shakethemail.net/webmail/ - Go to Settings → Accounts → Add an Identity
- Add your desired address (e.g.
hello@decentralizers)
ShakeTheMail validates the identity against your proven domain ownership and updates its routing automatically.
Step 5: Receiving Email
When someone sends to hello@yourdomain:
- Their mail server looks up the MX record for your domain
- Finds your MX code pointing to ShakeTheMail
- Connects on port 25 and delivers the message
- Postfix routes it to your mailbox via the virtual alias map
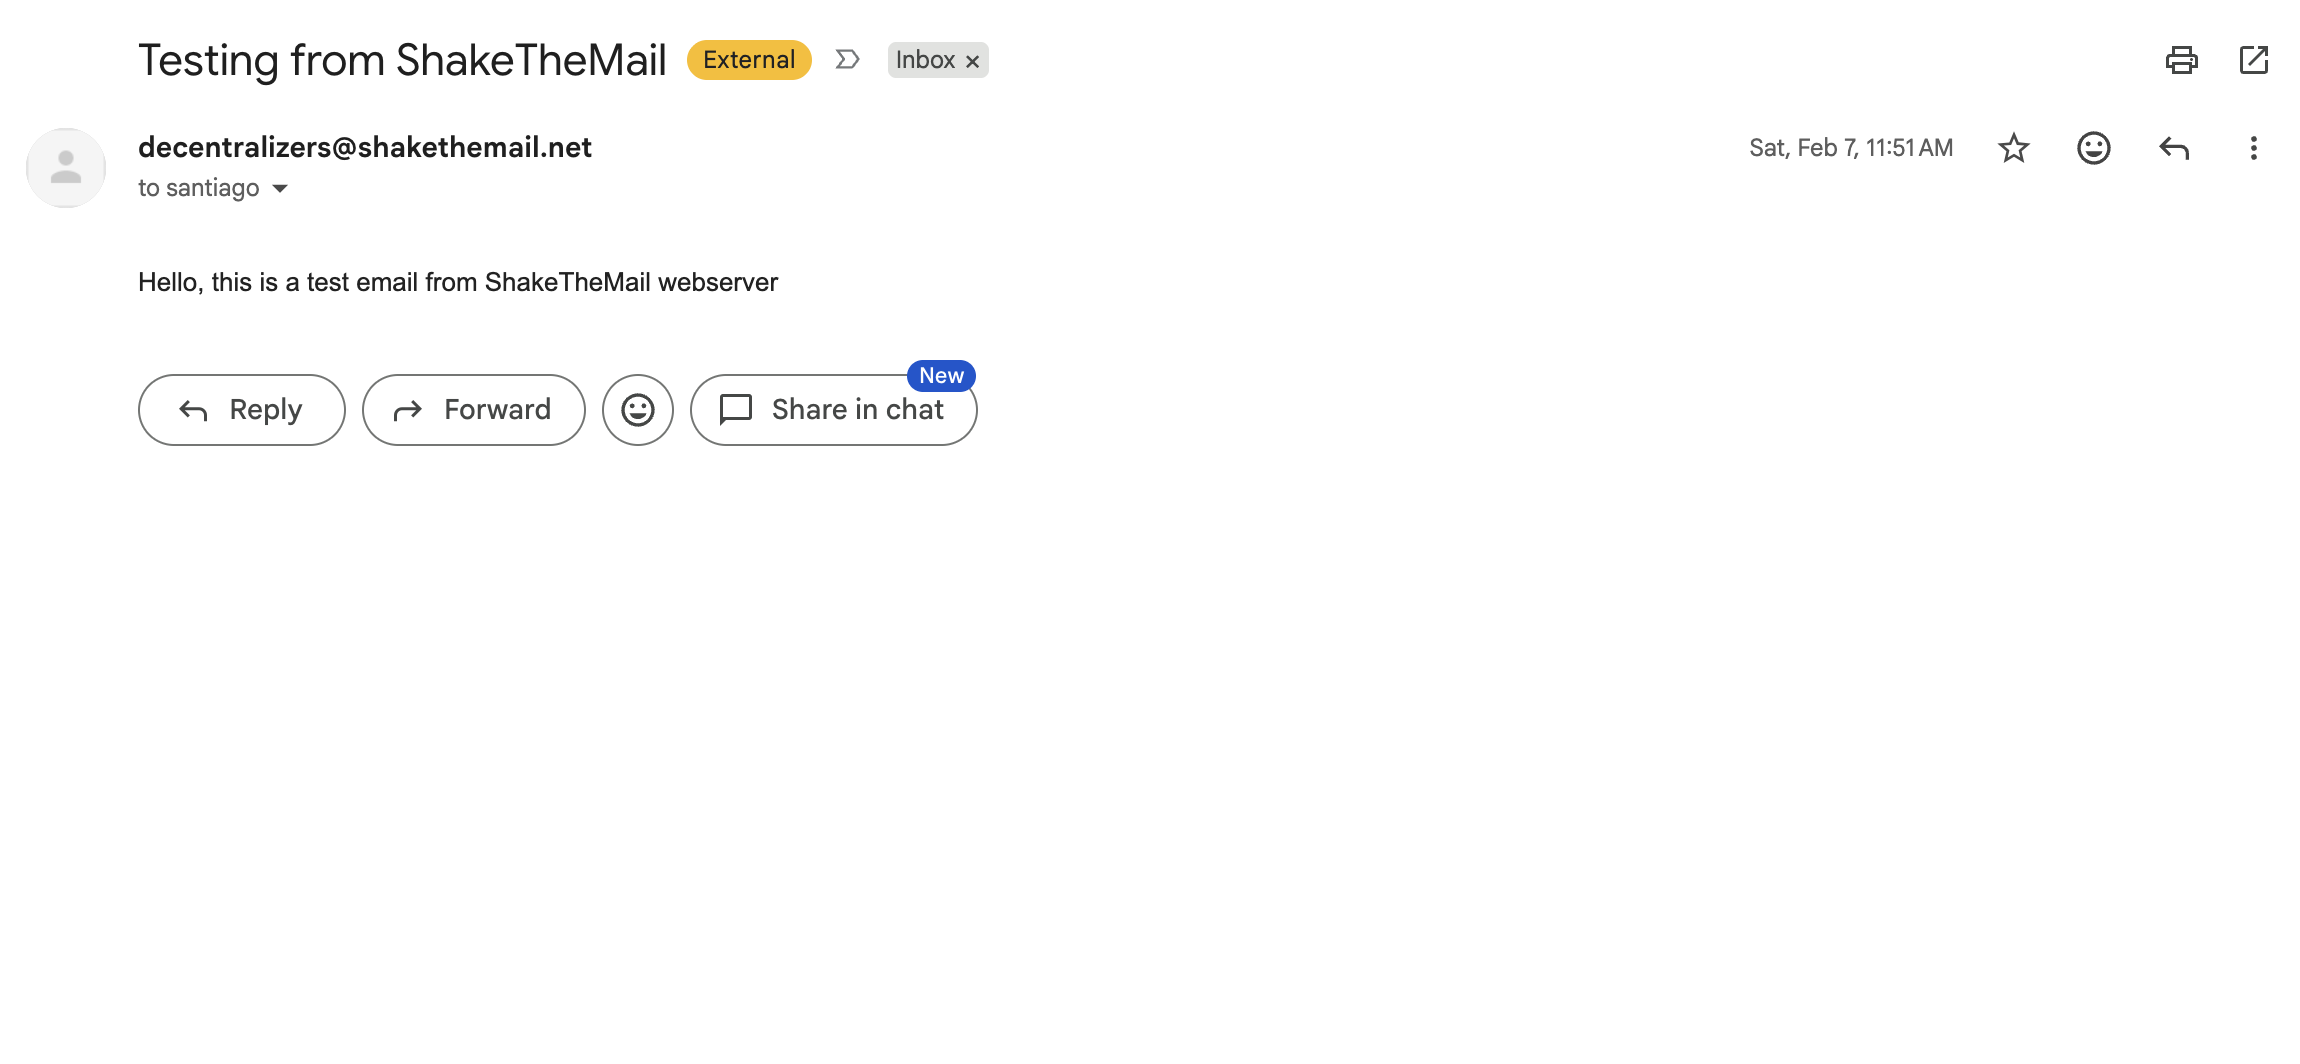
Here’s a real example, an email successfully sent from ShakeTheMail and received in Gmail:
Step 6: Sending Email
Via Webmail (recommended): you can reach any address, Handshake or ICANN:
Via IMAP/SMTP client:
| Service | Server | Port | Security |
|---|---|---|---|
| Webmail | shakethemail.net/webmail/ | 443 | HTTPS |
| IMAP | shakethemail.net | 993 | SSL |
| POP3 | shakethemail.net | 995 | SSL |
| SMTP | shakethemail.net | 465, 587 | SSL |
Note: SMTP via client only delivers to other users on the same ShakeTheMail server. To send to external addresses, use the Webmail interface.
Important Limitations
- External delivery via SMTP client is restricted: you can only reach other ShakeTheMail users this way. Use Webmail to send outside the server.
- Recipients on ICANN domains need a Handshake-aware DNS resolver to look up your domain’s MX record and receive your mail.
Running Your Own Instance
ShakeTheMail is open source. If you want full control:
- Run the container with DNS servers that resolve Handshake
- Edit
policy.jsonto set youremail_domainandwebsite_domain - Add DNS records for your hosting domain (A record, wildcard A, SPF)
Quick Reference
DNS Records
; Required: proves ownership and routes mail
yourdomain.  IN  MX   10  <your-mx-code>.shakethemail.net.

; Recommended: improves deliverability to ICANN domains
yourdomain.  IN  TXT  "v=spf1 mx include:shakethemail.net -all"
Account Lifecycle
| Event | Timeout |
|---|---|
| Session inactivity | 2 hours |
| Never-activated account deleted | 7 days |
| Inactive account (MX record removed) | 30 days |
A Handshake domain gives you sovereign control over your namespace and ShakeTheMail extends that to your inbox.


Comments